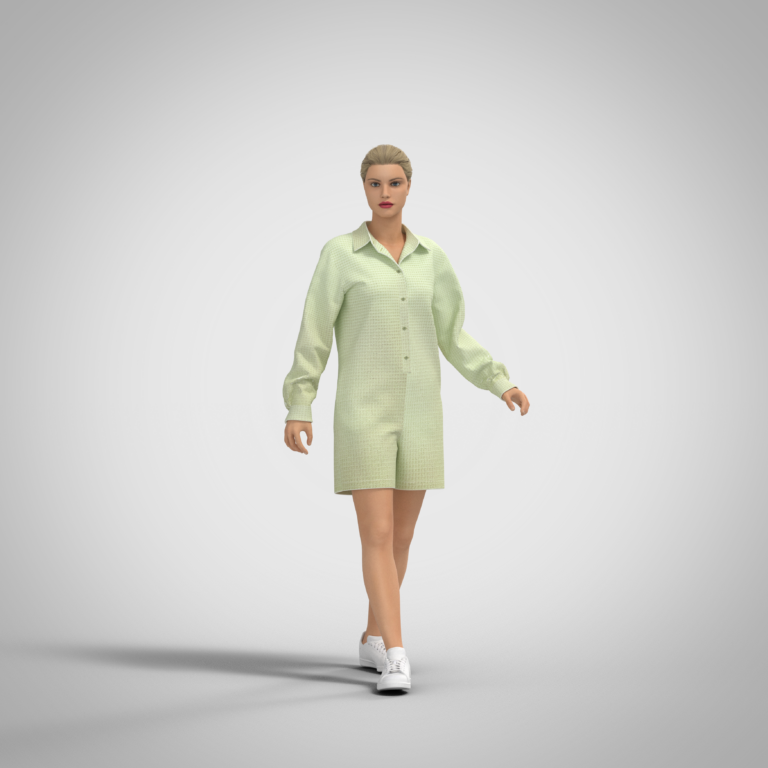
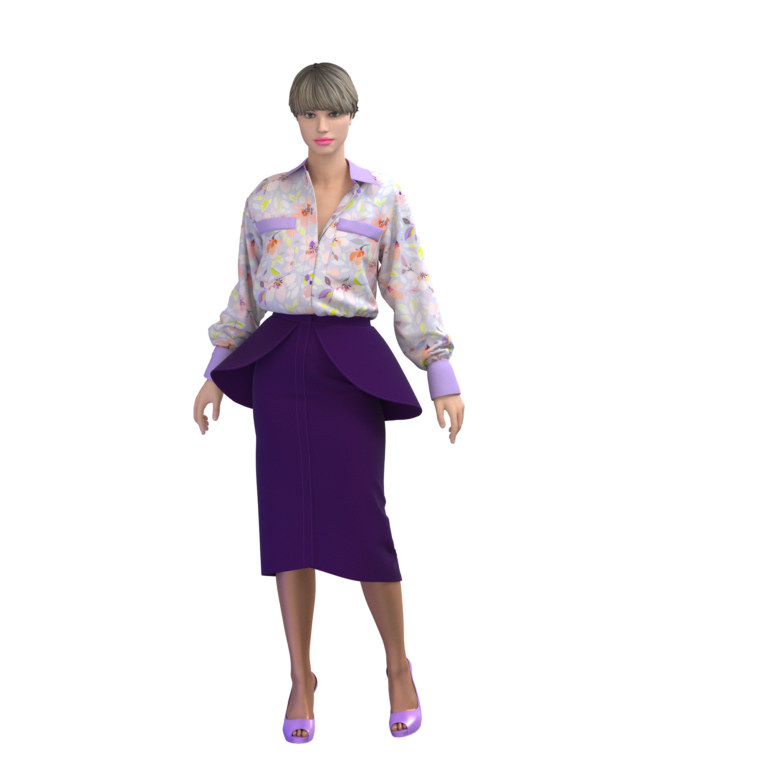
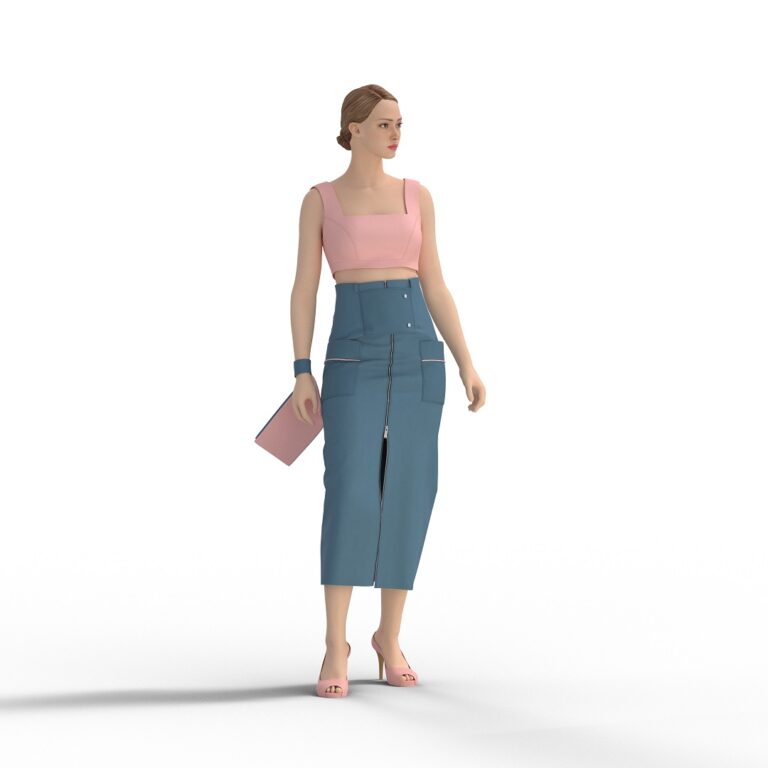
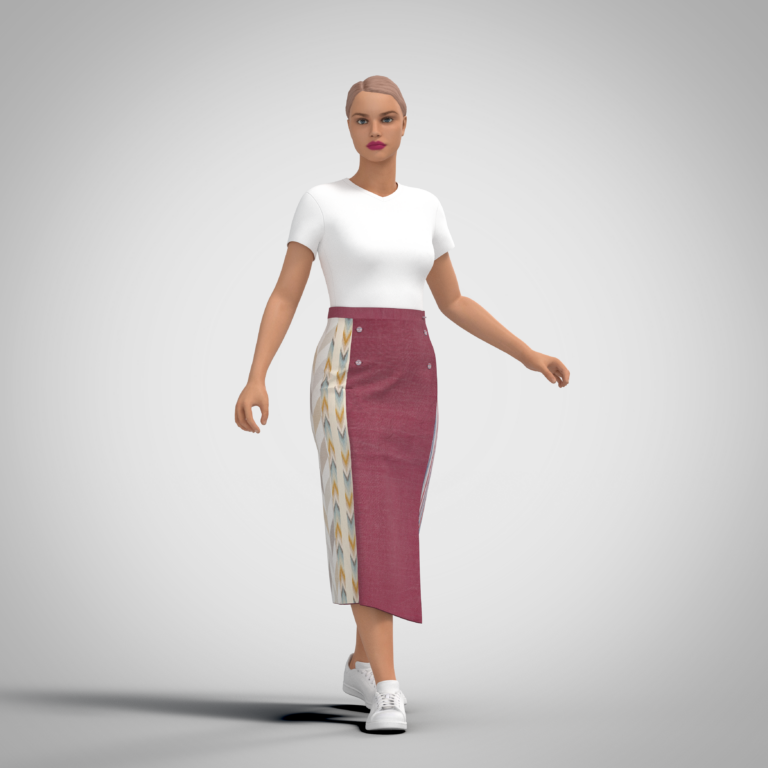
NEW CUTS
Drawndress
01.
START SELLING YOUR DESIGNS
and earn passive income
Register on the site as a seller and securely add patterns to your personal store.
02.
ORDER PATTERN PATTERN Prints
and save your time
Buy a pattern and order plotter printing with or without cutting.
Blog
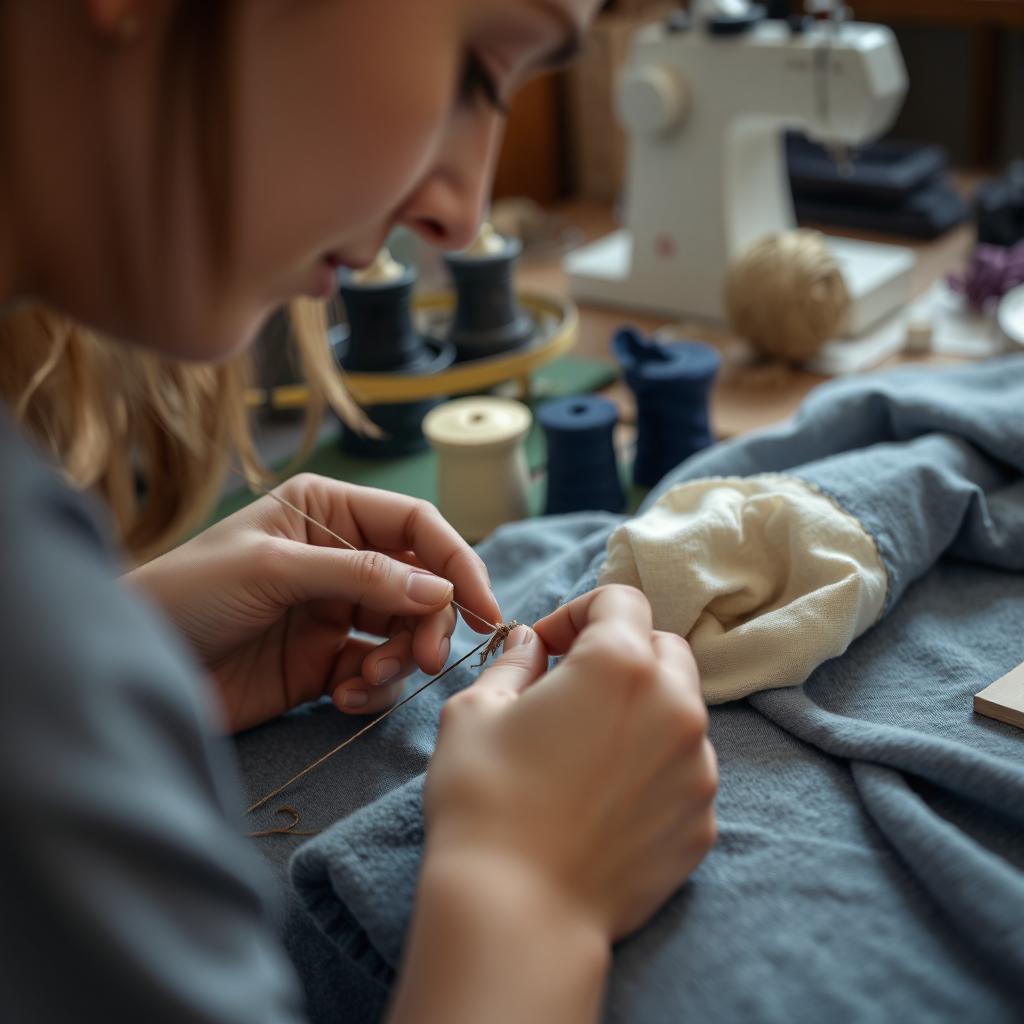
Sweep – temporary joining of two pieces, approximately equal in size, with or without seating ...
Basque is a very feminine detail of a garment. It is a flared piece of ...




Questions and answers
HOW TO TAKE MEASUREMENTS AND DETERMINE YOUR SIZE
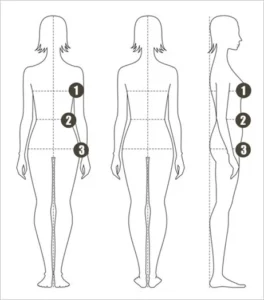
In order to choose the right size of the pattern in our online pattern store you should measure yourself and compare your measurements with the typical ones.
- Chest circumference - measure the full circumference of your chest. The tape should go horizontally around the torso, through the protruding points of the pectoral glands.
- Waist circumference - measure the full circumference of your waist. The tape should run horizontally around the torso, at waistline level.
- Hip circumference - measure the full circumference of the hips, including the protrusion of the abdomen. The tape should run horizontally around the torso, from behind to the most protruding points of the buttocks. Use a ruler to measure the protrusion of the abdomen more accurately.
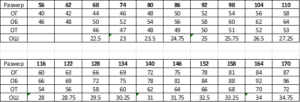
Now compare your measurements to our tables.
FEMALE DIMENSIONS
MALE DIMENSIONS
CHILD MEASUREMENTS
Girth is an additional measurement parameter. Girth - Neck circumference.
After the payment is made, within 2 minutes, an email will be sent to the email address you provided with a link to download your patterns. You will receive several files. A file with full sewing description. A file for printing the pattern for plotter and for a regular printer in A4 format.
Also, links will be available at https://drawndress.ru in your Personal Profile.
An email with a link comes EVERYWHERE, the system works automatically. When ordering for the first time, check your spam folder. If you don't receive an e-mail, then with 99% probability you have misspelled your e-mail. Write to us in the feedback form on the CONTACTS page or at mail@drawndress.ru. We will correct your e-mail address and you will receive your order.
- Before printing the pattern, check the printer settings by setting the scale to 1:1 or 100% or "real size".
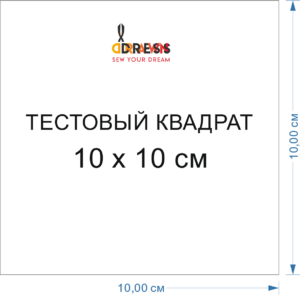
- Print out a 10x10 "test square" and measure with a ruler to match its sides (the sides should be 10 cm).
- Open the pattern file, check for borders and page numbers on the sheets. The numbering is at the top edge of the sheet: the first digit indicates the horizontal row, the second digit the vertical row.
Note. In standard layouts there are always 4 horizontal rows. If it is important for you to determine the number of vertical rows, divide the number of sheets in the layout by 4 (for example: 36/4=9).
- Print out all pages of the pattern file.
- Lay them out according to the plan.
- For further work it is necessary to cut the frame from the sheet on both sides along the upper edge (excluding sheets of the first horizontal row, these are sheets numbered 1.1, 2.1, 3.1, 4.1, etc. depending on the length of the layout) and the left edge (excluding sheets of the first vertical row, these are sheets numbered 1.1, 1.2, 1.3, 1.4, etc.).
- Lay out the pattern sheets. If all the sheets are laid out correctly, the lines on the sheets will be extensions of each other.
- Cover the remaining edges of the frame with glue (or use any other convenient method of joining, for example: painter's tape) and join the adjacent sheets, joining the cut of the sheet to the frame. First join all horizontal rows, then join them together in the same way.
- The patterns can be cut along the seam allowance line - the outer contour of the pattern.
- All internal lines are marking lines or contour lines for the pattern.

- The test square is a reference point for fine-tuning the print settings.
- Always print a test square before printing.
- The pattern can be printed after the print is set up with the sides of the test square being 10X10 cm.
- When setting up test square printing, we recommend selecting a custom scale of 100% or the actual size.
- Your print settings may differ from the recommended settings.
Today we're going to discuss the benefits of sewing from ready-made patterns. In fact, this activity surprisingly facilitates the creative process. First of all, there is no need to build a pattern - it is already ready. Your task is to choose the desired model and correctly determine your size, based on the size charts on the site.
Secondly, it is definitely a time saver. You don't need to spend hours on creating the basis and modeling, especially if you have not received special education. Accordingly, working with books and instructions also takes a lot of time. By simply printing out the finished pattern and stitching it, you can start sewing immediately. Stitching instructions make this process easier, especially if you have the option of printing on a plotter - in this case the pattern will be ready in full size, it just needs to be cut out.
Finally, the detailed instructions for sewing, fabric selection and consumption make the process even more convenient. All necessary calculations and fabric selection recommendations are given in tables, which allows you to avoid mistakes and save both time and money.
Fourth, it is important to note that working with ready-made patterns increases confidence in your abilities. For beginners, sewing can seem like a daunting task, and here a ready-made pattern becomes a great helper. When you start with simple patterns and successfully complete them, it motivates you to experiment more and make more complex projects.
Fifth, ready-made patterns allow you to create unique pieces without having to develop your own designs. You can choose a pattern that you like and adapt it to your style by adding decorative elements or changing details. This opens the door to creativity and self-expression.
Sixth, ready-made patterns are often accompanied by active communities where you can share your experiences and get advice. Such groups help to keep you motivated, share your successes and learn from others. This creates a sense of unity and inspiration among sewing enthusiasts. Thus, sewing from ready-made patterns is not only convenient and fast, but also an exciting process that binds people together through a common passion.
Mistake 1: ignore material selection guidelines.
When you're in a fabric store, it's so easy to be enchanted by gorgeous prints and extraordinary textures - and to buy a very beautiful but inappropriate fabric for your garment. If you sew on ready-made patterns, pay attention to the recommendations on the choice of fabric. They are given for a reason: each model is designed with the assumption that it will be sewn from a certain type of material. Composition, density, ability to drape, elasticity - these are the parameters that should be considered first, and then pay attention to color and print.
Mistake 2: failing to decontaminate before working.
Decanting or decatting is the wet-heat treatment of the fabric before sewing. Wet-heat treatment, abbreviated as WTO, usually means washing or soaking and/or ironing the fabric before cutting. This is done because the material, which has already become a product, may shrink when washed. It will be very unpleasant to find that just sewn thing after the first washing turned into a product a size or two smaller! To prevent this from happening before you cut from the fabric, you need to decate it. Please note: different materials need to be decanted differently, each type of fabric has its own specifics of the process.
Mistake 3: Not following the direction of the grain axis.
A woven fabric consists of interwoven threads arranged perpendicularly to each other: the filling threads (also known as warp threads) and the weft threads. These threads are slightly different. The warp thread, or the grain thread, has a slightly lower stretch than the weft thread. It is not difficult to determine the grain axis: it is parallel to the edge of the fabric. It is usually indicated on the pattern pieces by a long arrow in which direction the grain axis should run. If you do not observe this direction, the details in the product can skew. And if the material is a print, the pattern will also appear to be arranged unevenly.
Mistake 4: forget about mirroring details.
Humans are symmetrical creatures: the clothes we sew for ourselves are largely made up of identical but mirrored parts. And it is necessary to cut out two identical parts, for example, sleeves, by mirroring them. If we cut the fabric by folding it in half, everything usually goes well. But if the fabric must be laid out in one layer, a beginner may not keep track and cut out, for example, two left sleeves. And there is no more fabric.
If you make a mistake with your size selection, you can repeat your purchase by selecting the correct size. Unfortunately, once you have received your pattern files, we will not issue refunds if the error was not our fault.
